
Straightforward, Same-Day Sourdough
October 2025
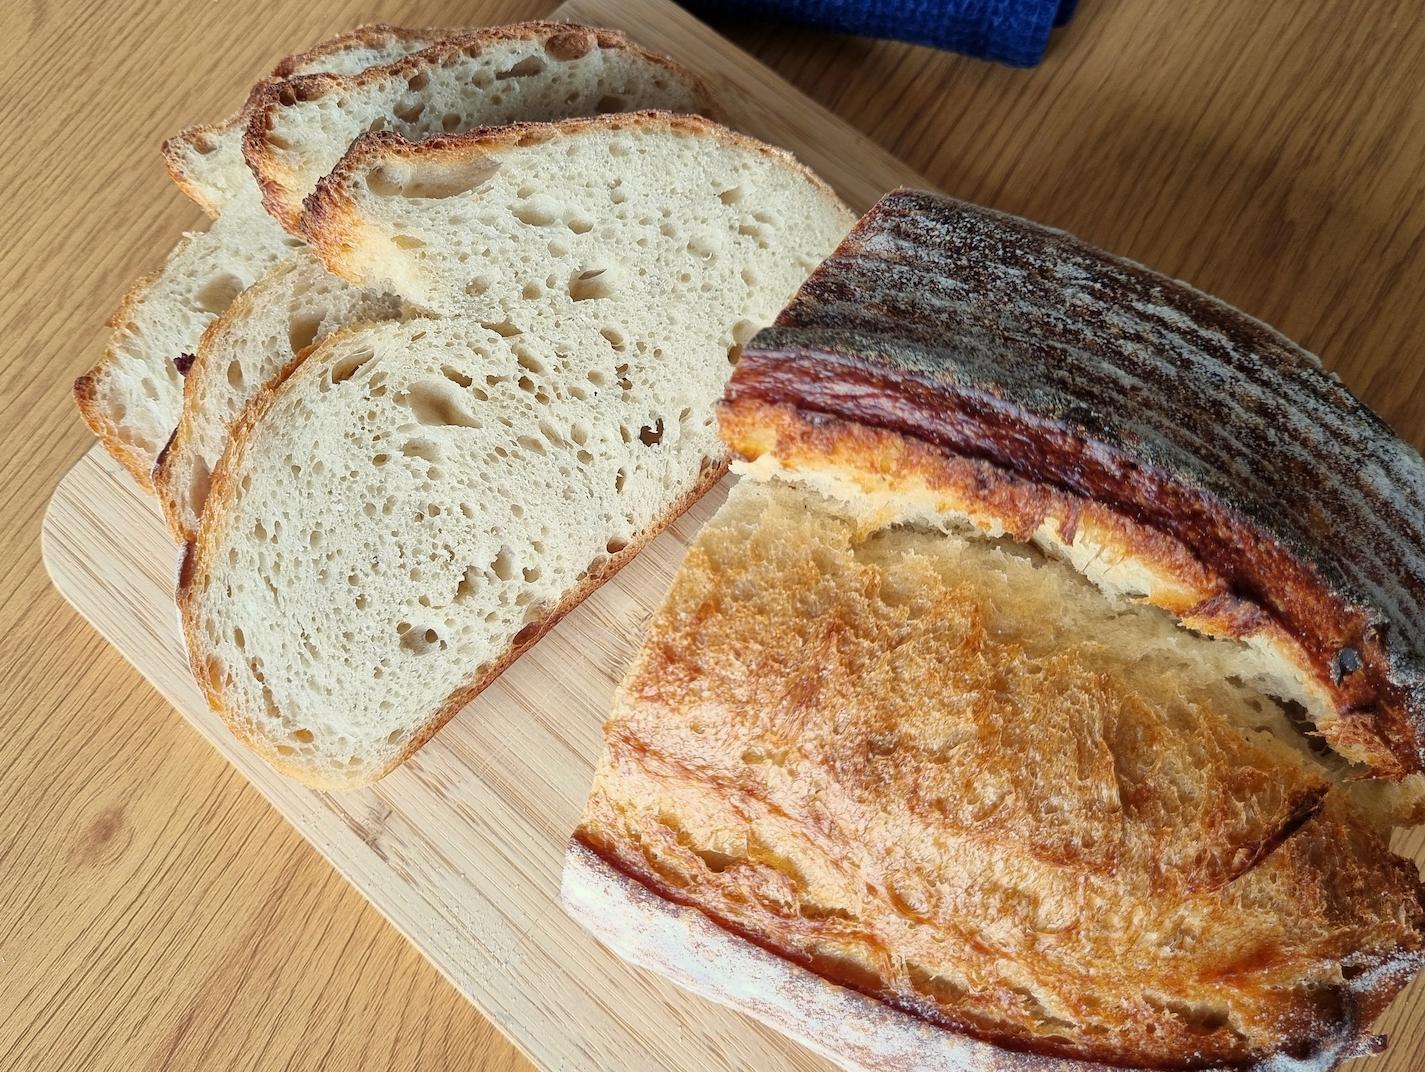
This same-day recipe makes a delicious, lightly tangy sourdough loaf without the long wait. Using a 1:1:1 feeding ratio, a generous amount of starter and a room-temperature final proof, you can mix, rise and bake a flavourful loaf all in one day.
This recipe creates 165g starter but uses 150g, leaving a small amount in the jar for feeding.
Timings
This timeline provides a suggested schedule for this recipe.
- 8:00 am - feed the starter
- 1:00 pm - mix the dough
- 1:30 pm - stretch and fold
- 2:00 pm - stretch and fold
- 2:30 pm - stretch and fold
- 5:00 pm - shape the dough
- 7:00 pm - bake
- 8:40 pm - slice and enjoy
Baker's Percentages
Baker's percentages express each ingredient as a proportion of the total flour weight (including in the starter), making it easier to understand, scale and adjust recipes.
| Ingredient | Quantity | Baker's Percentage |
|---|---|---|
| Sourdough starter | 150g | 30%* |
| White bread flour | 497g (inc. 75g from starter) | 100% |
| Water | 323g (inc. 75g from starter) | ~65% |
| Fine sea salt | 10g | ~2% |
* Starter baker's percentage is calculated as total starter weight / total flour (including in the starter).
Equipment
Proofing Basket
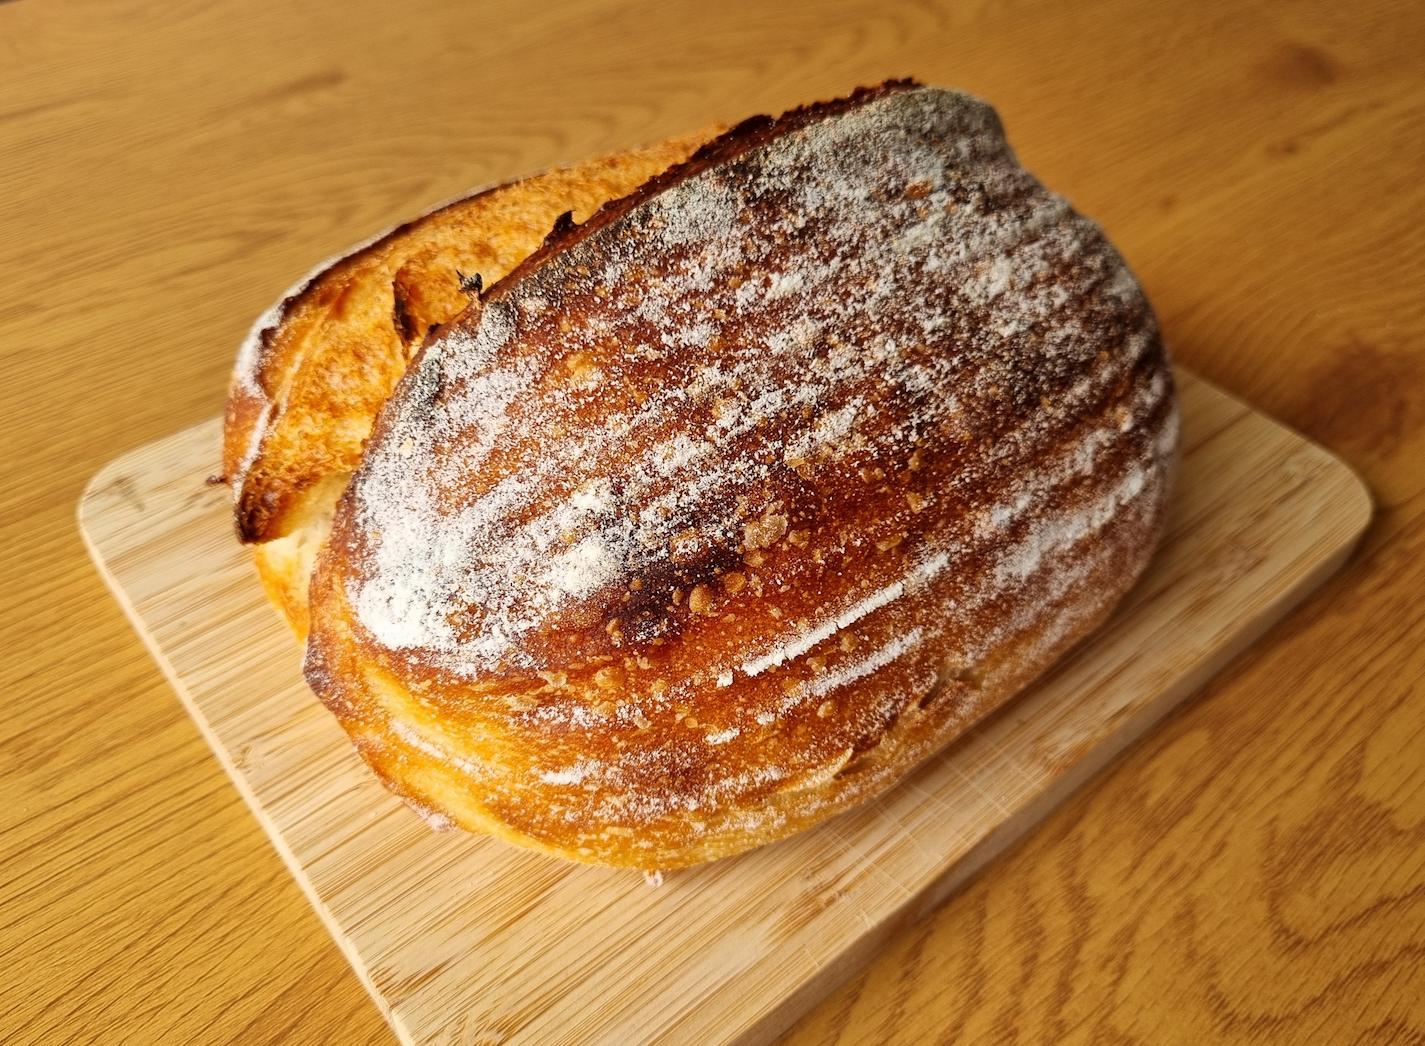
My preferred proofing basket is an oval rattan banneton without the liner. It creates a batard shaped loaf, great for sandwich slices, while adding a nice pattern. The breathable rattan allows the dough surface to dry slightly, making it easier to release and handle, and contributing to a crisp crust.
If you don't have a banneton, you can improvise with a clean kitchen towel-lined bowl or colander. Dust the towel with flour to prevent sticking.
Dutch Oven
Baking sourdough in a Dutch oven creates a sealed chamber that traps steam. This keeps the crust soft, helping the loaf to expand. The bread will self steam, but I find I get a better rise by adding an ice cube or a splash of water. Halfway through baking remove the lid, so the crust can harden and set.
If you don't have a Dutch oven, you can improvise by covering the loaf with a large pot or pouring water into a tray at the bottom of the oven. Whichever method you choose be careful - everything will be very hot.
Techniques
The Poke Test
The poke test, in combination with monitoring the time, is the most reliable way to assess whether the final proof (the rest after shaping the loaf) is done. Press the dough with a floured finger a few centimetres deep, then remove your finger. The dough is is done when the indentation springs back slowly but leaves an indent. If it springs back quickly, it needs more proofing, and if it doesn't spring back at all then it is over proofed. This test lets us feel the dough's airiness and elasticity, to judge if it's properly proved.
The poke test is a technique that develops the more you practice. Use it often, observe how the spring-back changes throughout proofing, and over time you'll learn to read the signs intuitively.
Scoring
Score the loaf once it's transferred out of its proofing basket and onto the baking paper. Scoring allows the loaf to expand in a predictable way, otherwise it would expand and likely burst at the weakest spot.
A lame is often used to score, but a knife does the job fine. Score confidently and quickly, to avoid the blade getting stuck in the dough. Once scored, you can make additional cuts to tidy it up.
The Scrapings Method
The scrapings method lets you use and maintain your starter without discard. After using the required amount of starter in a recipe, there will be leftover starter clinging to the sides of the jar. Add to the jar equal amounts of flour and water, give it a good mix and let rise.
Straightforward, Same-Day Sourdough
Makes one loaf (830g dough) with enough leftover starter to refeed with the scrapings method.
Special Equipment
Ingredients
For the starter
For the dough
Method
This recipe is based on a room temperature and Desired Dough Temperature of 24C. If your kitchen is warmer or cooler, the dough may proof faster or slower. Adjust the timing as needed.
- Combine 55g active sourdough starter with 55g white bread flour and 55g water. Let sit for about 5 hours until it peaks - doubling or tripling in size with lots of small surface bubbles.
- In a bowl (or preferably a straight-sided container so you can observe the rise), combine 150g of the starter, 422g white bread flour, 248g water and 10g fine sea salt. Mix by hand, folding the dough over itself until the ingredients are well combined. Cover and let rest (fermentolyse) for 30 minutes, to hydrate the flour and begin gluten development. If using a straight-sided container, mark the height of the dough.
- Perform three sets of stretch and folds, spaced 30 minutes apart.
- Let the dough rise until it has increased in size by 60%, approximately 3-4 hours after the initial mix.
- Lightly flour the top of the dough, your work surface and a banneton. Turn out the dough and gently shape into a rectangle. Fold one long side toward the centre, then fold the other side so they meet in the middle. Roll the dough top down, creating tension, flip seam side up and pinch the seam to seal. Tuck in or seal the ends, place seam-side up in the banneton and cover.
- Let the dough proof for 1 ½-2 hours, until it passes the poke test. 30 minutes before baking, preheat the oven to 230C conventional mode, with a Dutch oven inside. If using fan mode, preheat to 230C and reduce to 210C for the second half of the bake after removing the lid.
- Flip the dough out onto a piece of baking paper and score. Carefully transfer the dough using the baking paper into the Dutch oven with an ice cube for steam. Bake for 20 minutes, then carefully remove the lid and bake a further 20 minutes until the crust reaches your preferred colour.
- Transfer to a wire rack and let cool for at least 1 hour before slicing.
Looking for more sourdough?
Try our Pain De Campagne for a rustic sourdough loaf with a delicious blend of flours.
Or explore the depth of ancient grains with our Spelt Sourdough.